What does failed roof flashing look like?
Flashing problems show up in three places. You can spot some from the yard, some indoors, and some only from the attic.
| Where to look | What you might see |
|---|---|
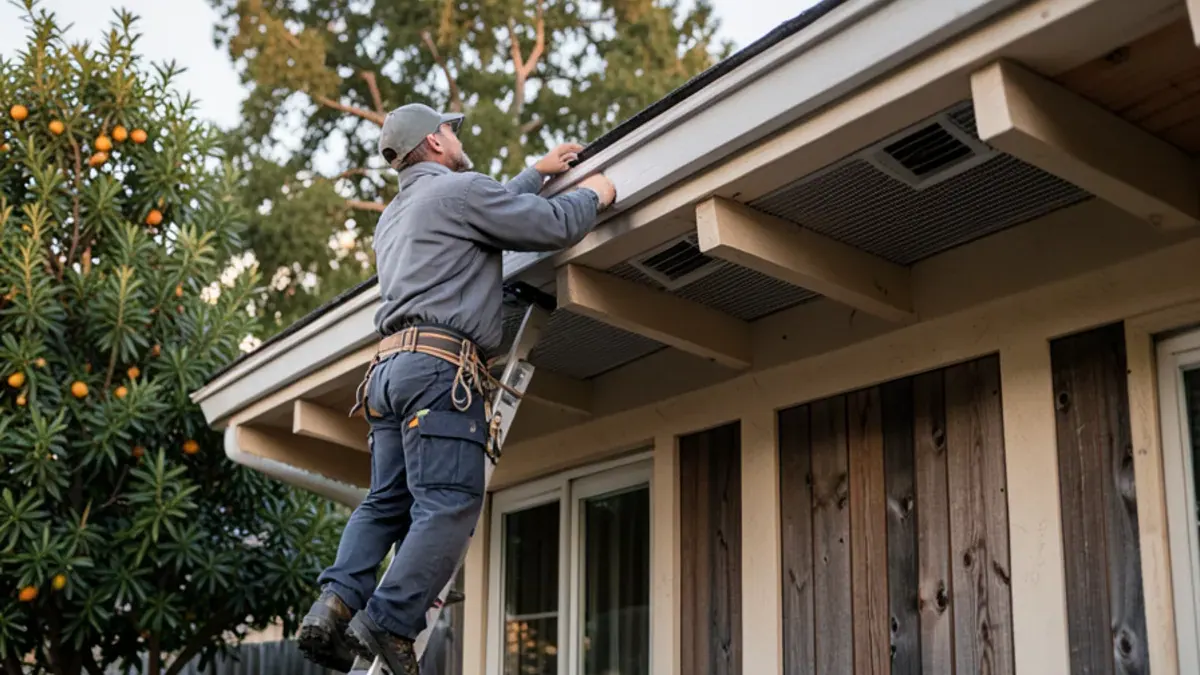
| From the ground | Rust streaks below a chimney, a gap between brick and roof, thick caulk lines, a vent boot that looks split or tilted |
| Inside the house | A stain on the wall or ceiling beside a fireplace, below a second-story wall, or around a skylight well |
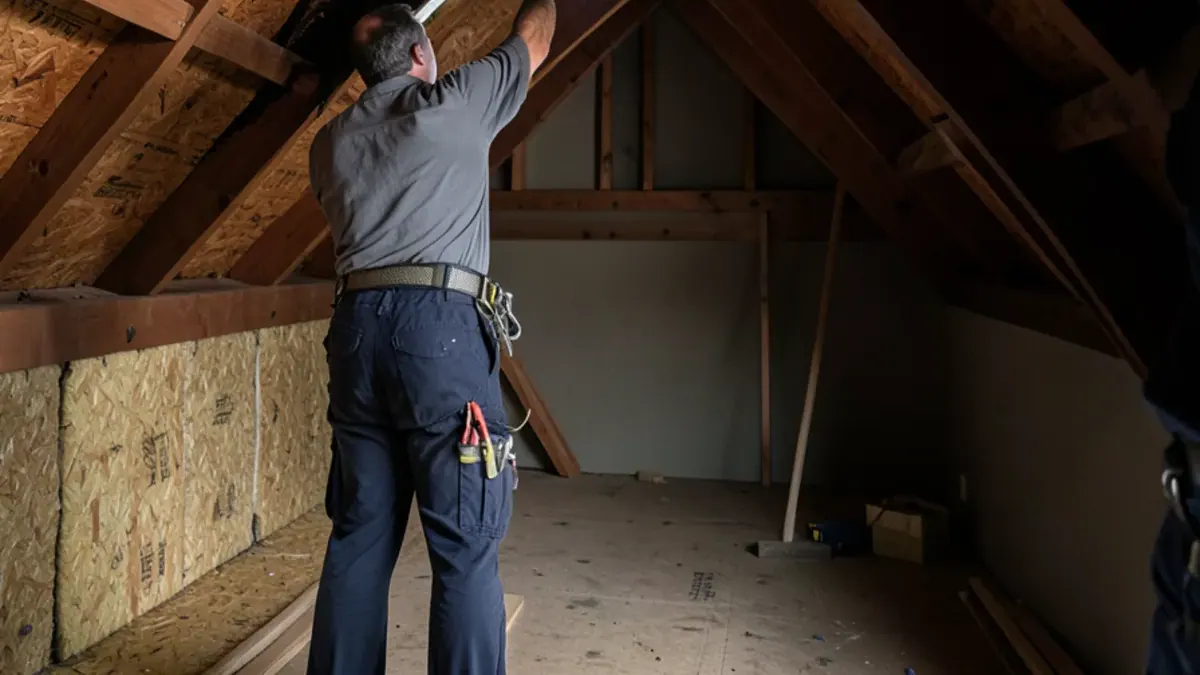
| In the attic | Wet framing or dark wood running down along a chimney chase, wall or skylight curb |
| On the outside wall | Peeling paint, swollen siding or stucco cracks where a lower roof meets the wall |
Leaks at flashing often come and go with wind direction, which is why they can seem random. If you cannot tell where the water is coming from, roof leak detection traces it first.
What a flashing repair covers
- Chimney aprons, step flashing, counterflashing and crickets.
- Step and kick-out flashing where roofs meet walls.
- Open and closed valley metal.
- Vent boots, lead jackets and flue collars.
- Skylight curbs, patio-cover tie-ins and custom pieces bent on site.
Roof flashing repair in Campbell, CA, starting with chimneys
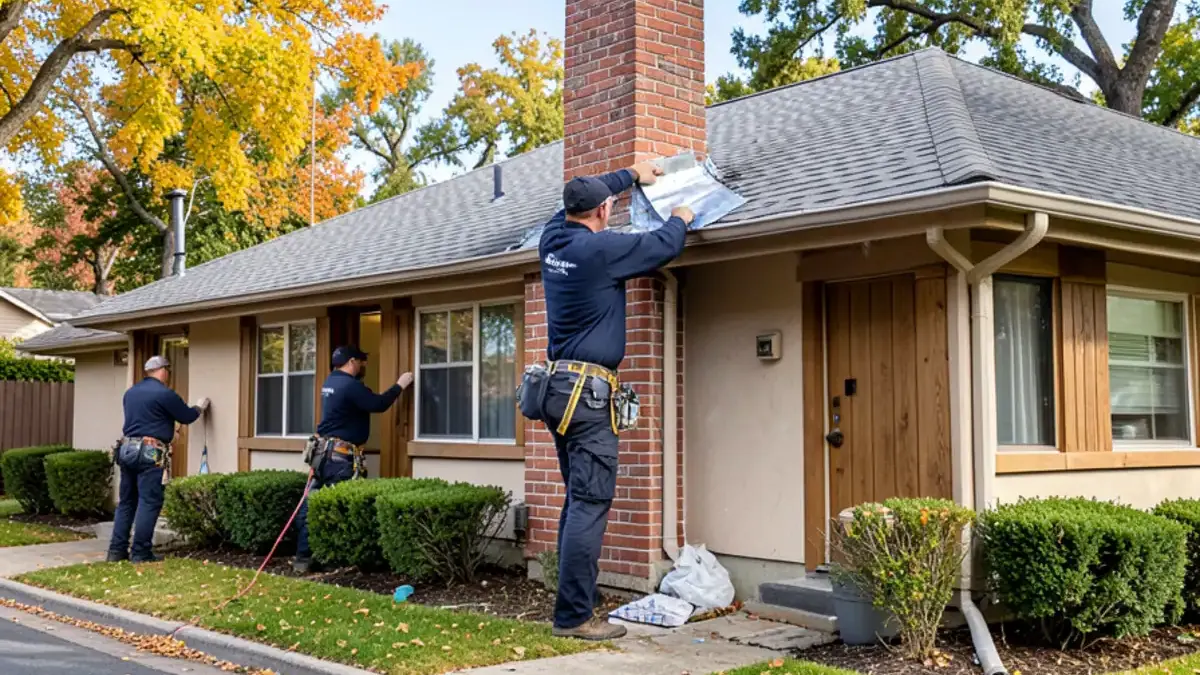
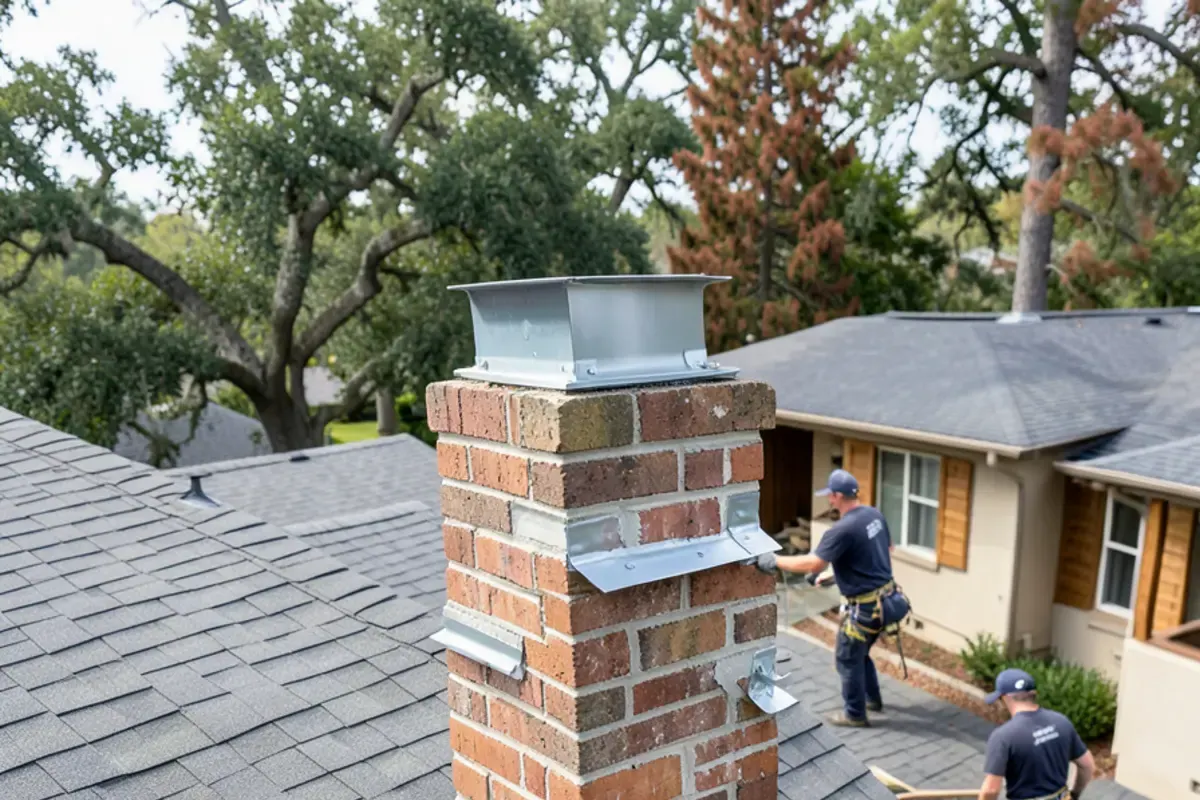
A properly flashed chimney has four parts working together: an apron across the downhill face, step flashing woven up each side with the shingles, counterflashing let into the mortar joints and folded down over the steps, and a cricket behind wider chimneys to split the water coming down the slope.
Chimney flashing repair on 1950s and 1960s Campbell ranch homes usually starts from a gap: at least one of those parts is missing or was replaced with caulk during an earlier reroof. Brick chimneys from that era also shifted during the 1989 Loma Prieta earthquake and with decades of settling, which pulls counterflashing out of its joints. Repair usually means grinding a clean reglet into the mortar, installing new counterflashing, and replacing the step pieces beneath it.
Questions about roof & chimney flashing repair?
Call first for the quickest answer, or request a free written estimate below.
Request a free written estimate
Fastest answer: call (725) 745-8803. Or send the details below and we will call you back.
How we replace flashing, in order
- Find the failing joint. Stains, attic trails and wind direction tell us which metal to open.
- Lift the roofing around it. Shingles or tiles come up far enough to expose every lap.
- Strip old metal and sealant. Rusted steps, buried caulk and cracked boots come out, and soft sheathing is replaced.
- Lay underlayment and metal in sequence. Apron, then steps, then counterflashing, each lapped so water runs onto the next piece.
- Relay the roofing and finish the wall side. Counterflashing goes into a ground reglet or behind the wall's weather barrier.
- Photograph and clean up. You get after photos, and offcuts leave with the crew.
Step flashing repair and wall flashing leaks
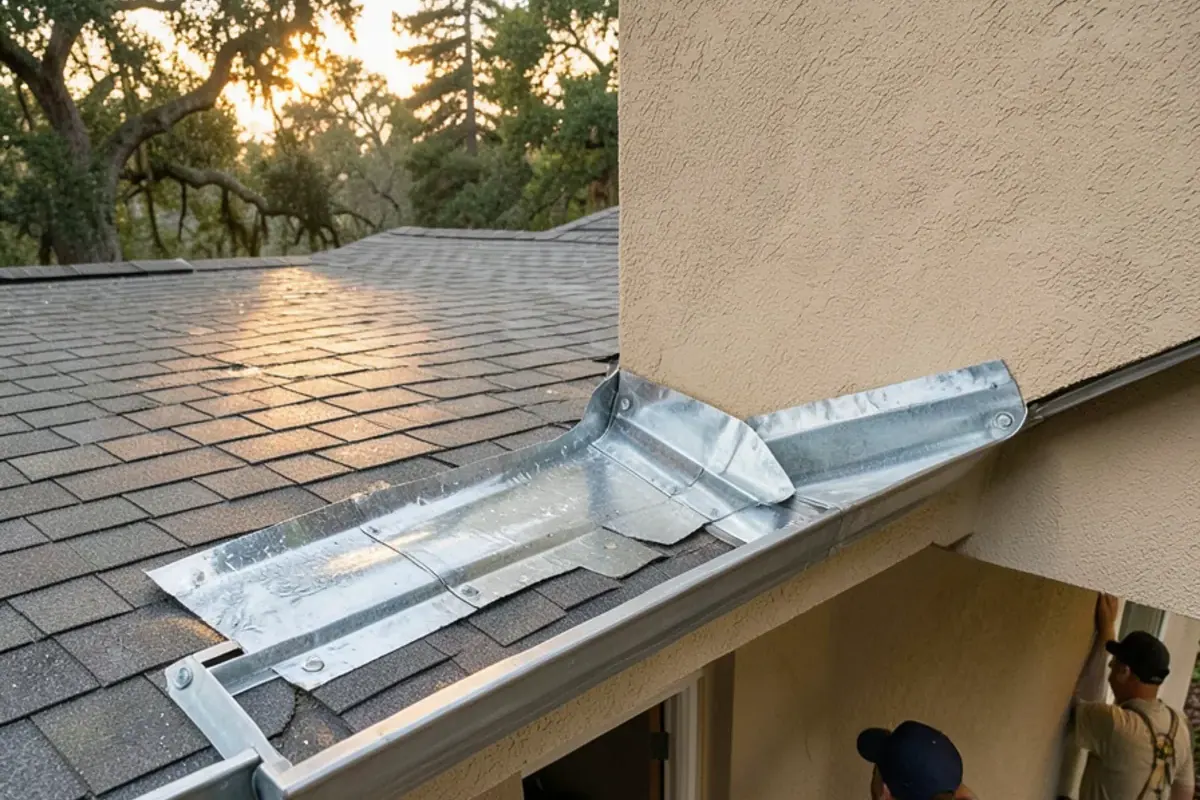
Wherever a sloped roof runs up against a wall, each course of shingles should get its own L-shaped piece of step flashing, lapped like the shingles themselves. A single long strip of metal, or steps that were reused and are now rusted through, lets water walk sideways into the wall.
Wall flashing leaks are common on remodeled homes where a second story or an addition was framed above an original single-story roof. The bottom of that wall needs a kick-out flashing that turns water into the gutter. Without it, rain runs behind the stucco or siding and rots the sheathing long before a stain reaches the inside.
Replacing step flashing means lifting the shingles along the wall and sometimes loosening the lowest course of siding or cutting back stucco a little, so the new metal can tuck behind the wall's weather barrier where it belongs.
Valley flashing repair
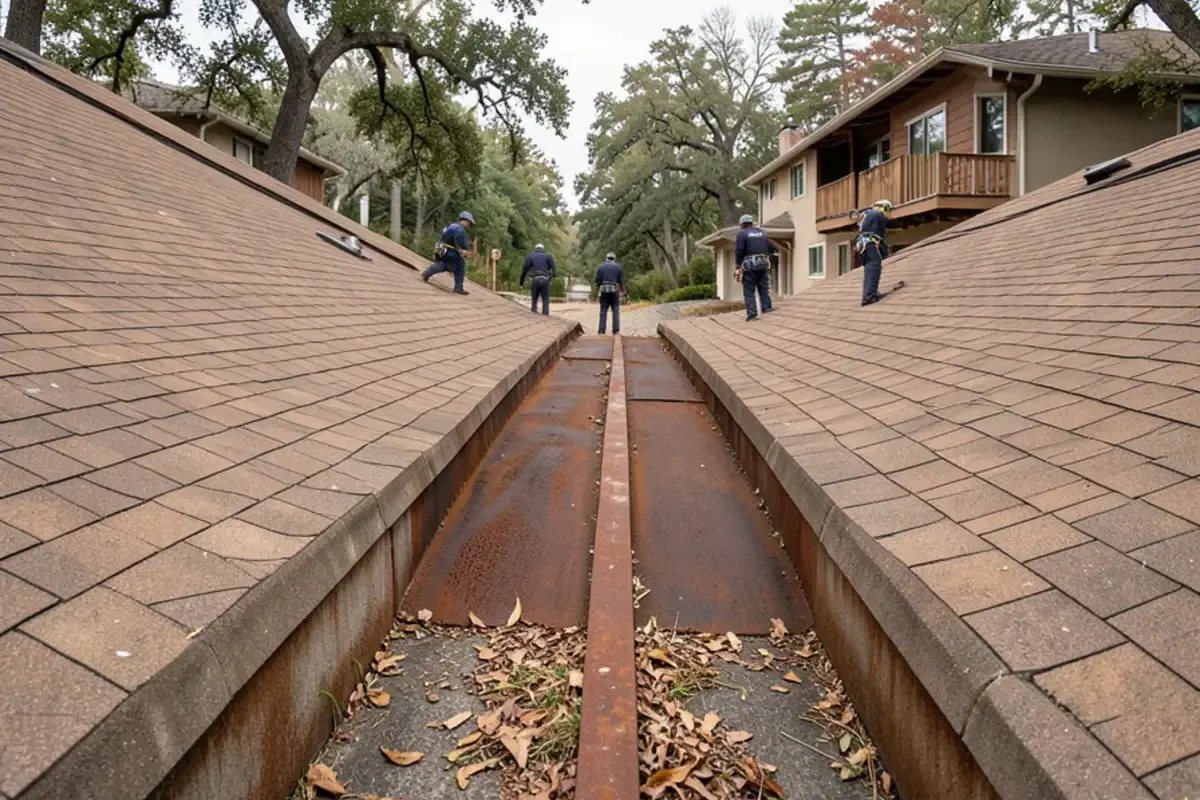
Valleys collect water from two slopes, so they carry more volume than any other part of a roof. Open metal valleys, common on tile and shake roofs, rust at the center line and at laps. Closed valleys on shingle roofs depend on the underlayment beneath them, and both kinds suffer when oak and sycamore leaves pile up and force water sideways.
- Rusted or pinholed metal: replace the valley pan in full lengths with proper laps.
- Shingles cut too short or too long: recut the valley line and seal the upper corners.
- Debris dams: clear the valley and trim back the limb that keeps filling it.
- Leaks at the valley bottom: check that the metal extends over the drip edge into the gutter.
Why do vent pipe boots crack?
Most plumbing vents on composition roofs are sealed with a metal or plastic base and a rubber collar that hugs the pipe. That rubber spends every summer in direct sun, and on south-facing slopes it can dry, shrink and split long before the shingles around it wear out. The crack usually opens on the uphill side, which is exactly where water arrives.
Older homes often have soft lead jackets instead, which rats and squirrels chew. Furnace and water-heater flues have their own collars and storm caps that loosen over time. Vent pipe flashing repair means installing a new boot or jacket and weaving it correctly into the shingles, not wrapping the old one in tape or sealant.
Custom sheet metal flashing, bent to fit
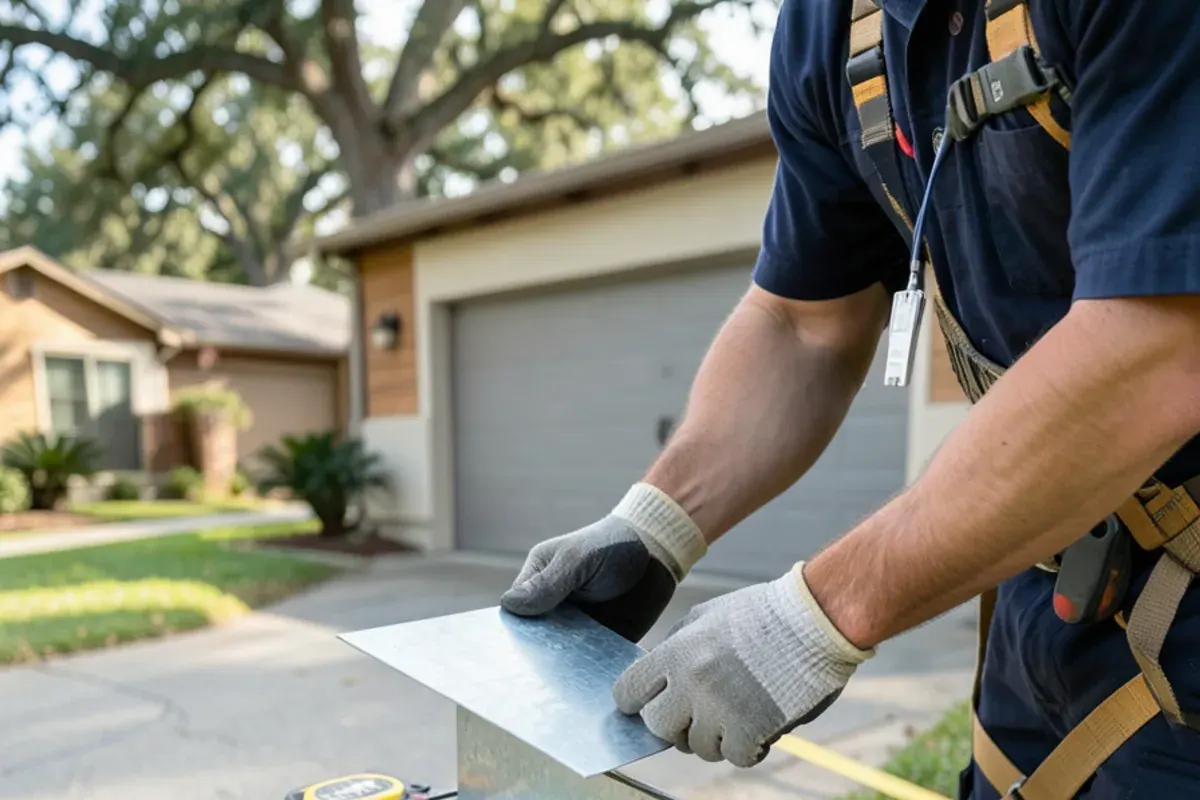
Off-the-shelf flashing does not fit every roof. Old houses have odd chimney sizes, low-slope patio covers tied into walls at strange angles, and skylight curbs that were built on site. For those joints we cut and bend custom pieces from sheet metal, matched to the metal already on the roof wherever we can.
We take small sheet metal jobs, too. If you are doing your own repair and need a few custom flashing pieces cut and bent to your measurements, call and describe what you need.
Why homeowners bring flashing problems to us
We are family-run, and we would rather fix the metal once than come back to recaulk it. Each joint is photographed for your free written estimate, crews clean up daily, and a single boot or a few custom pieces is a job we take.
Flashing repair cost factors on Campbell homes
A vent boot and a full chimney reflash sit at opposite ends of the scale, so every estimate lists each joint separately. What moves it:
- Chimney size: wide chimneys need a cricket, and loose brick may need masonry work first.
- Wall finish: stucco has to be cut back and patched; siding comes off and goes back.
- Roofing around the joint: tile and shake take longer to lift and relay than shingles.
- Metal choice: matching existing copper or heavier-gauge metal costs more than standard galvanized.
- Hidden damage: rotted sheathing or framing behind a long-leaking wall adds line items.
Should an unused chimney come out during a reroof?
Plenty of Campbell homes have a brick chimney serving a fireplace nobody lights. During a reroof, chimney removal is worth considering: taking it down below the roofline and decking over the opening removes the leakiest joint on the roof, and it takes heavy, unreinforced masonry off the top of the house in earthquake country.
Removing a chimney can involve structural, fireplace and gas-appliance questions, and the permit path depends on the scope. Before planning chimney removal, confirm its permit path with the city, or with the County on unincorporated land. Animals also nest in unused flues; if that is your situation, see animal damage roof repair.
For the flashing itself, California's residential code requires metal at every roof-to-wall and roof-to-chimney joint, and the model IRC it follows calls for a kick-out diverter where an eave meets a sidewall and a cricket behind any chimney wider than 30 inches. Flashing repairs alone seldom need a permit, but they fall under the City's reroof permit when done with a new roof. Ask for the CSLB license of anyone quoting $1,000 or more.
Rust streaks or caulk around the chimney? Call (725) 745-8803 and we'll look at the flashing.
Call (725) 745-8803