
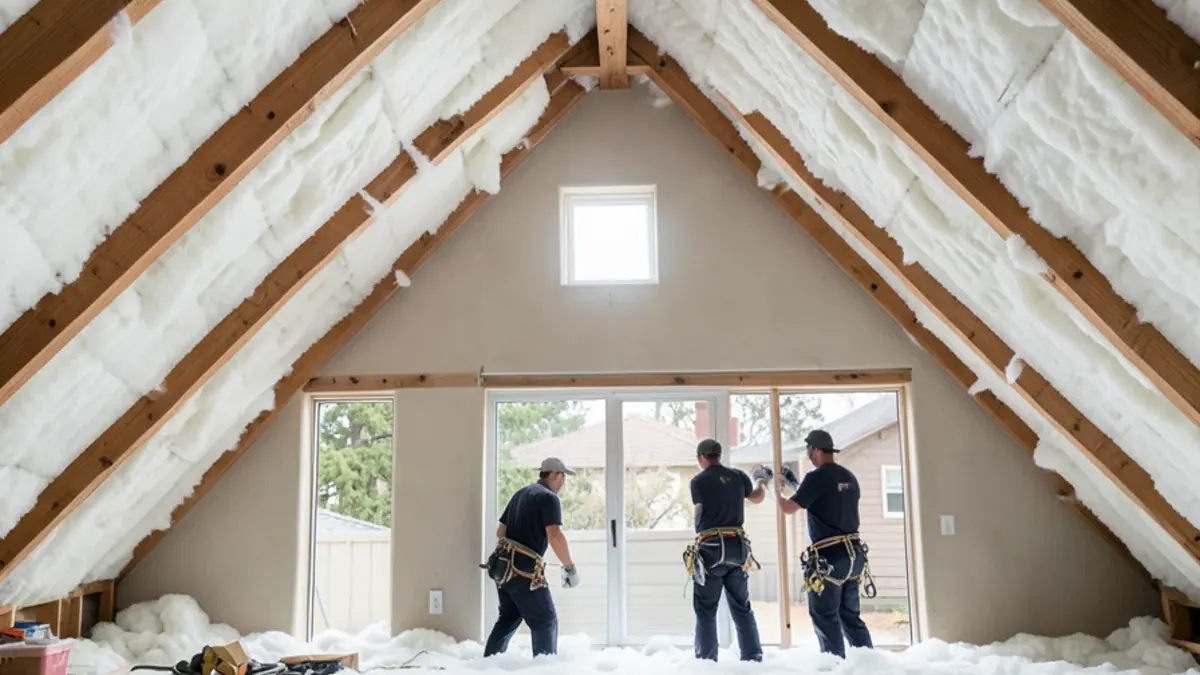
Attic insulation types compared
Insulation slows heat moving through the attic floor: into the house in summer and out of it on winter nights. Its effectiveness is measured in R-value per inch, but in practice coverage matters as much as the label. Gaps, compressed spots and areas left bare around wiring cost more than the difference between products.
| Type | How it goes in | Strengths | Watch-outs |
|---|---|---|---|
| Blown fiberglass | Machine-blown loose fill over the ceiling | Even coverage around wiring and framing; does not absorb water; non-combustible fibers | Needs enough depth to reach the target R-value |
| Blown cellulose | Machine-blown recycled paper treated with borate | Dense; fills gaps well; resists air movement better than loose fiberglass | Heavier; holds moisture if a roof leak soaks it |
| Fiberglass or mineral wool batts | Pre-cut blankets laid between joists | Low material cost; easy in open, standard-spaced attics | Gaps and compression around wires and blocking cut performance |
| Spray foam | Sprayed on the roof deck or attic floor | Insulates and air seals in one step | Highest cost; changes how the attic is vented; harder to trace roof leaks |
| Radiant barrier | Foil sheet or coating under the rafters | Reflects radiant heat from a hot roof deck | Not a substitute for insulation; works only with an air gap |
R-value per inch, type by type
Department of Energy figures put loose-fill fiberglass at roughly R-2.2 to R-2.7 per inch, loose-fill cellulose at about R-3.2 to R-3.8, fiberglass batts at roughly R-2.9 to R-3.8, open-cell spray foam near R-3.5 and closed-cell foam around R-6 to R-7. Those ranges explain why a blown fiberglass attic looks deeper than a cellulose one at the same rating. Depth alone does not tell you the R-value; the product and its coverage chart do.
Not sure what is in your attic now? Phone (725) 745-8803; we can photograph what's up there and go over the options.
Call (725) 745-8803How deep should the attic insulation be? A worked example
ENERGY STAR publishes recommended attic levels by U.S. climate zone, and most of the Bay Area falls in Zone 3 on that map. For Zone 3, it recommends R-49 for an uninsulated attic, and adding about R-38 where 3 to 4 inches of insulation already sits on the attic floor. California's own Title 24 climate zones are a separate map; Campbell is in Climate Zone 4 under that code.
| Material | Typical R per inch | Depth for about R-49 |
|---|---|---|
| Loose-fill fiberglass | About 2.5 | Roughly 19 to 20 inches |
| Loose-fill cellulose | About 3.5 | Roughly 14 inches |
| Fiberglass batts, two layers | About 3.2 | Roughly 15 to 16 inches total |
Picture a 1960s ranch attic with 4 inches of old, slightly matted batts. That layer may deliver around R-11 today. Following the ENERGY STAR guidance, you would add roughly R-38 on top, about 11 inches of cellulose or 15 inches of blown fiberglass, after air sealing. Installers should staple depth markers to the joists and leave the manufacturer's coverage card in the attic, so anyone can confirm later that the settled depth was reached.
Blown-in vs. batt insulation in older attics
Many Campbell and South Bay homes are 1950s to 1970s ranch houses with low, cramped attics, old wiring and ceiling joists that don't always sit at standard spacing. Batts have to be cut and fitted around every obstacle, and the corners and edges are where gaps hide. Blown-in fill flows around those obstacles and builds an even blanket, which is why it is the default for most retrofits here.
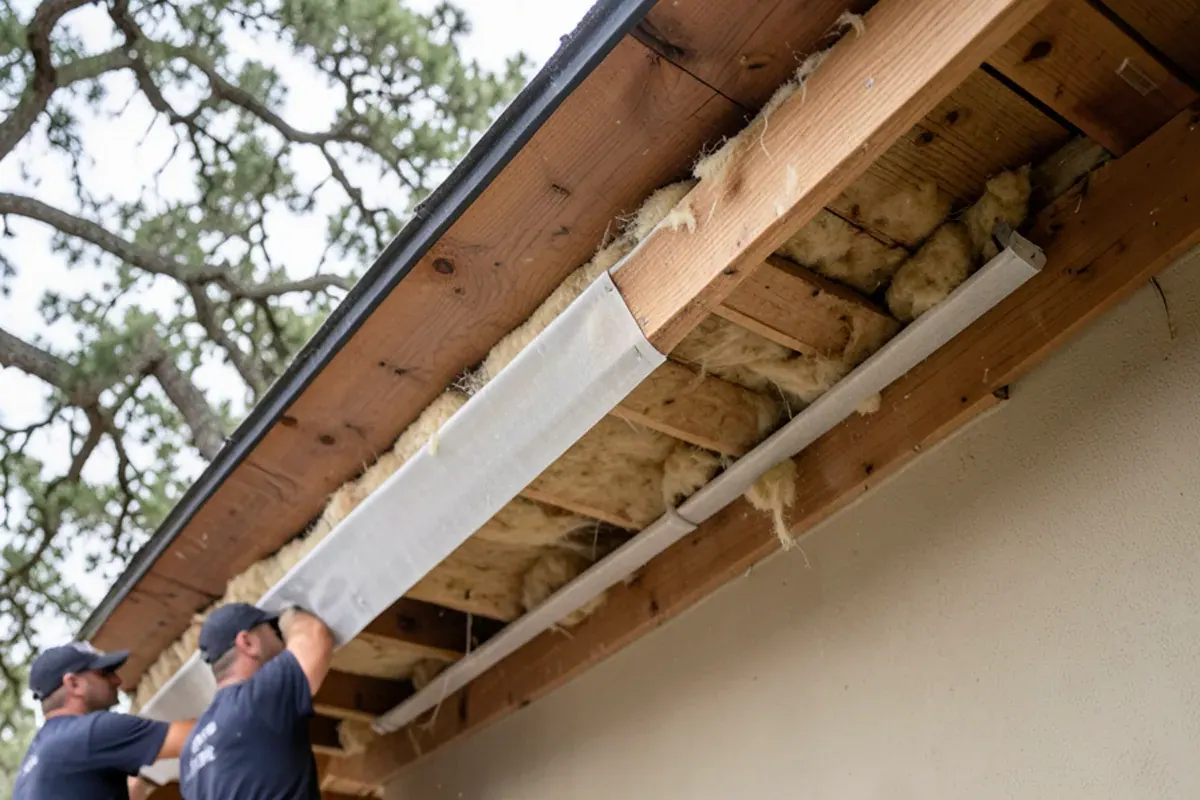
Batts still work well in newer, open attics and over garages with clear joist bays. Whichever type is used, two details matter: baffles at the eaves so insulation does not block soffit vents, and clearance around older recessed lights that are not rated for insulation contact.
Is a radiant barrier worth it in the Bay Area?
Radiant barriers reflect heat radiating off a sun-baked roof deck before it reaches the attic floor. The U.S. Department of Energy notes they are most effective in hot, sunny climates, and less so in mild ones. Near the Bay, where summer attics get warm but not extreme, the gain is modest. Inland valleys see hotter summers, so homes around Livermore and the eastern South Bay tend to benefit more.
A cool roof is another way to cut the same heat at its source: a reflective roof surface keeps the deck cooler in the first place. If you are reroofing anyway, cool-rated shingles plus good ventilation may do more than a barrier added to an old roof. Neither replaces insulation on the attic floor.
Air sealing comes before adding insulation
Most insulation types, especially loose fiberglass, slow heat but let air pass. Warm, moist indoor air leaking into the attic carries heat and can condense on cold sheathing in winter. Seal the leaks first, then insulate over them:
- Seal gaps where walls meet the attic floor along the top plates.
- Seal around plumbing vents, wiring holes and flues, using fire-rated material near flues.
- Weatherstrip and insulate the attic hatch.
- Seal or replace leaky recessed light housings.
- Seal and insulate duct joints that run through the attic.
- Make sure bath and kitchen fans vent outdoors, not into the attic.
Air sealing and insulation work together with roof ventilation, which carries away heat and moisture above the insulation. Our attic ventilation page explains how intake and exhaust vents are balanced.
What to do about rodent-damaged insulation
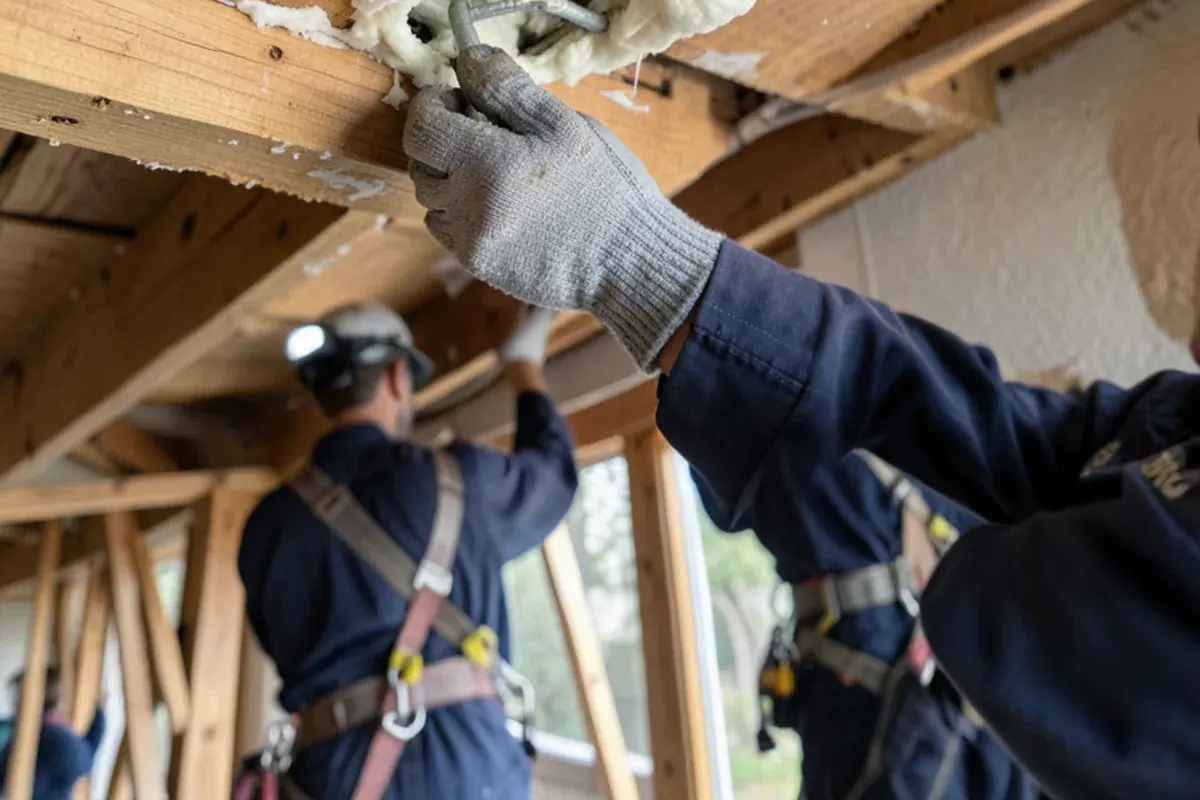
Roof rats and mice nest in attic insulation, tunnel through it and leave droppings and urine behind. Matted, soiled insulation loses its value and holds odors. The order of work matters:
- Close the entry points first: gaps at roof edges, vents and pipe penetrations.
- Remove soiled insulation with proper protection; the CDC publishes safe clean-up steps for rodent droppings.
- Sanitize the attic floor before anything new goes in.
- Air seal, then install new insulation to the target depth.
Our attic insulation service covers removal, air sealing and replacement in one scope, so the attic is not left half done.
If the old insulation looks like gray-brown pebbles
Loose, pebbly insulation in gray-brown or gold tones may be vermiculite. The EPA warns that much of the vermiculite sold in the U.S. came from a mine in Libby, Montana that was contaminated with asbestos, and advises leaving it undisturbed and hiring trained asbestos professionals if it must be removed. Do not vacuum it, blow new insulation over a disturbed area, or store things on it until it has been checked.
From our roof visits: attic findings that change the plan
The attic often explains roof problems the homeowner never connected to insulation. Insulation pushed into the eaves blocks soffit vents, cooking the shingles above. Bathroom fans dumping into the attic leave dark, damp sheathing overhead. Old roof leaks leave compressed, stained patches in the insulation that point straight to the source.
California's Title 24, Part 6 sets insulation levels for new construction and some alterations, and Campbell sits in Climate Zone 4; ask your building department whether your project triggers them. For homes around Campbell, the most useful first step is a look at what is already up there, with photos, before choosing a material.
Every type carries a trade-off. Blown fiberglass is light and shrugs off dampness, but it needs more depth and lets air through without sealing below it. Cellulose resists air movement better and fills gaps well, yet it is heavier and holds water if a roof leak finds it. Batts are the lowest-cost material in an open attic and the easiest to install badly in a cramped one. Spray foam seals and insulates at once, at a much higher cost, and it can hide a roof leak until the deck is damaged. We often pair insulation work with attic venting repair, since the two only work together.
Planning an insulation upgrade that lasts
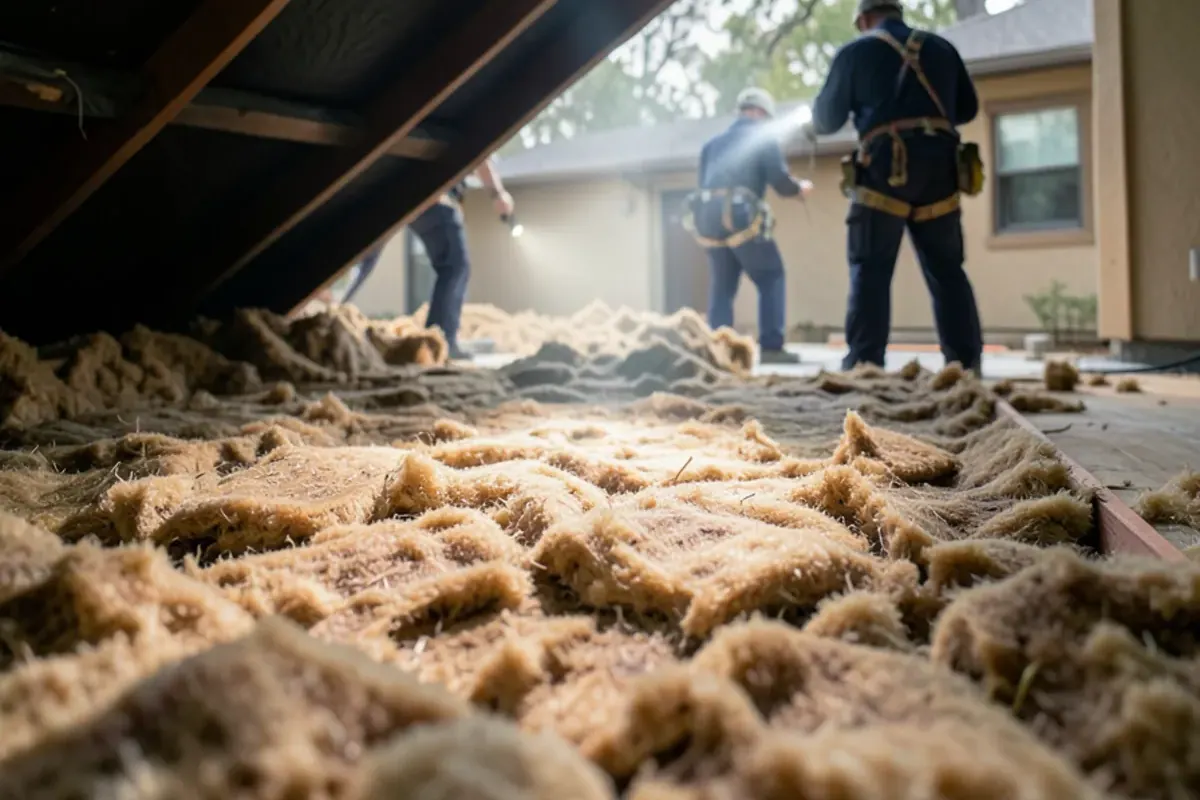
A good attic upgrade follows a set order, and skipping steps is what makes new insulation underperform:
- Fix any roof leaks and close rodent entry points.
- Remove soiled, wet or suspect insulation; have possible vermiculite checked first.
- Air seal top plates, penetrations, the hatch and recessed lights.
- Install baffles at the eaves and confirm intake and exhaust vents are open.
- Blow or lay insulation to the target depth, with depth markers in place.
Want to see what is in your attic before choosing a material? Ask Xylo Fix Roofers for an attic check with photos.
Call (725) 745-8803